Time: ~5 min. Need: a CSV or Excel export from your bank or current finance tool, plus one minute to confirm the columns are mapped right.
By the end of five minutes you will have last month's transactions visible in the ledger and the column mapping saved as a template. The template is the step that matters: next month's import is two clicks, not another hour of remapping the same bank.
Steps
-
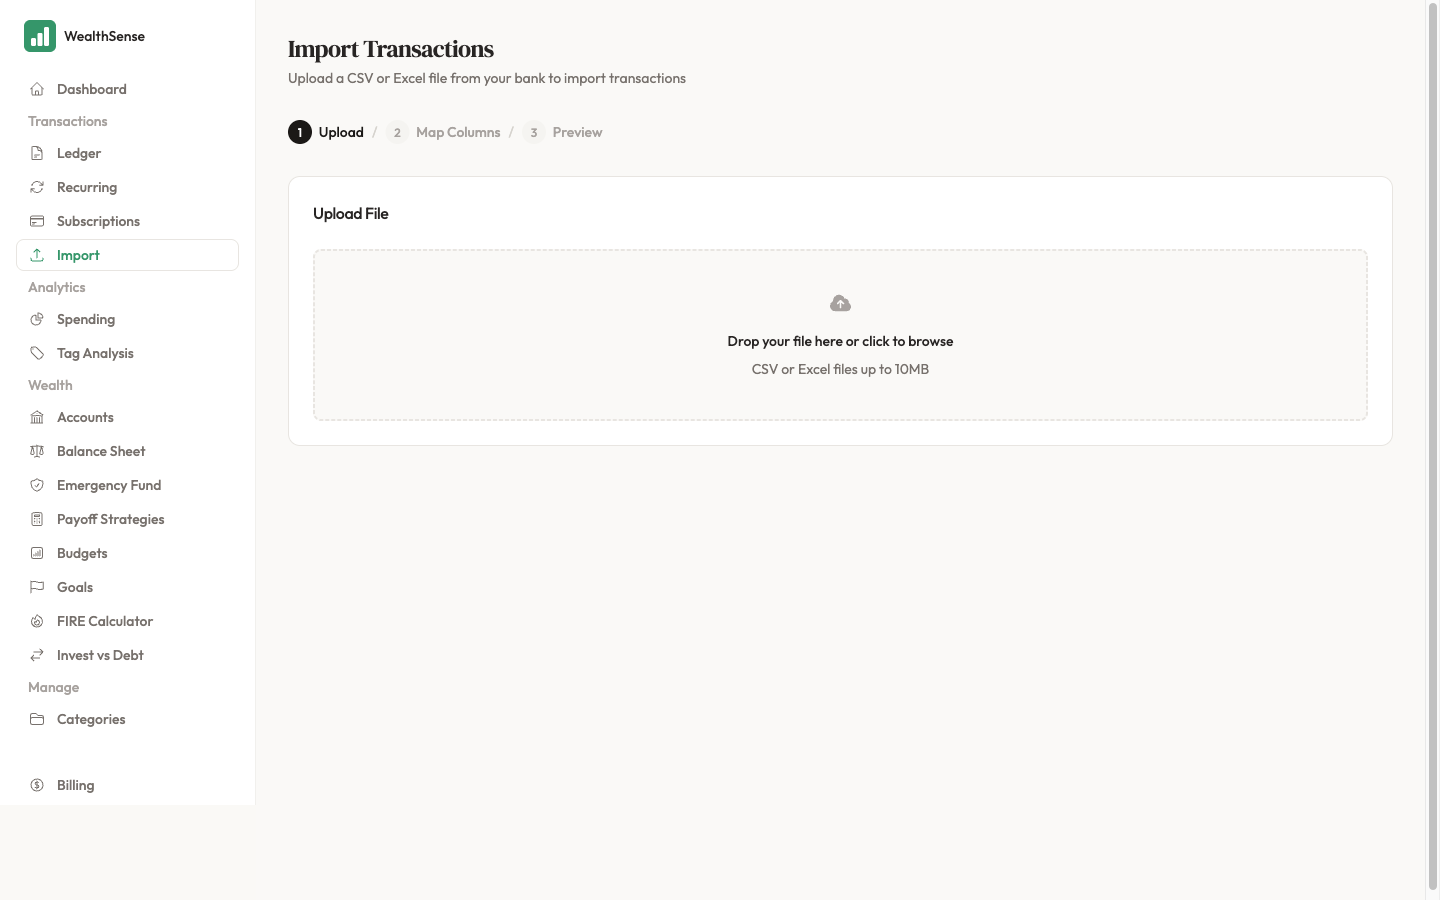
From the sidebar open Import. The wizard moves through three numbered steps across the top — Upload → Map Columns → Preview — with an optional Categorize step that appears at the end if any imported transactions need a category. You can return to any step using the Back button without losing your file.
-
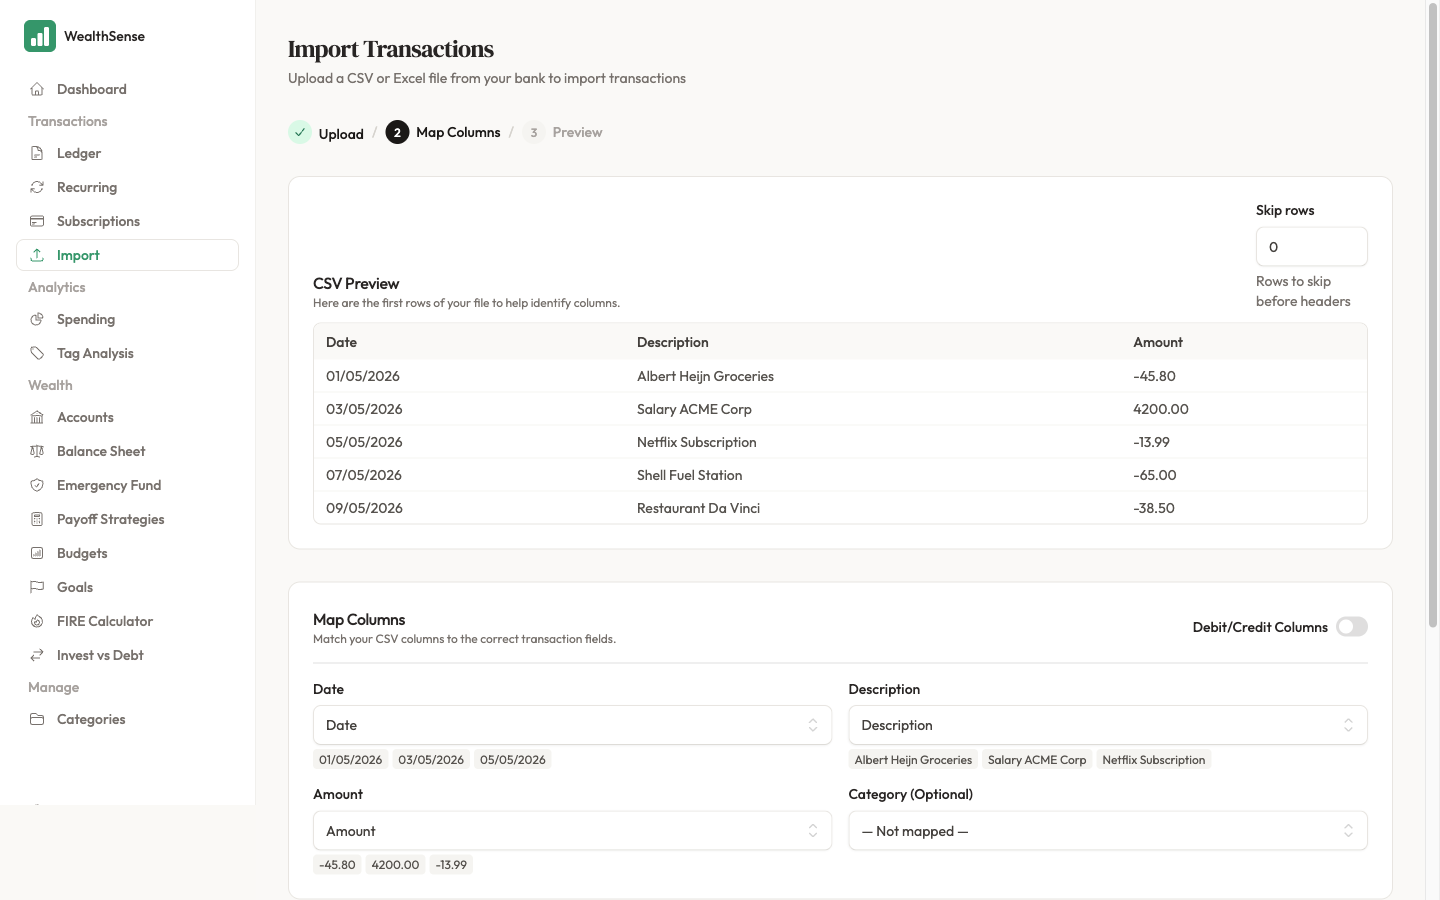
Upload the file. Drag the CSV or Excel export onto the upload card, or click to pick it from disk. WealthSense reads the headers and the first few rows so you can see what columns the file has before you map them. If the file has banner rows at the top — bank name, statement period — use the Skip rows input on the next screen to skip past them.
-
Map the columns. Match each CSV column to the WealthSense field it represents — Date, Description, Amount (or a Debit/Credit pair if the file separates them), and the destination Account. The mapper suggests matches based on header names, so most files take 15 seconds. If a column does not have a counterpart in WealthSense, leave it unmapped — only the fields you map are imported.
-
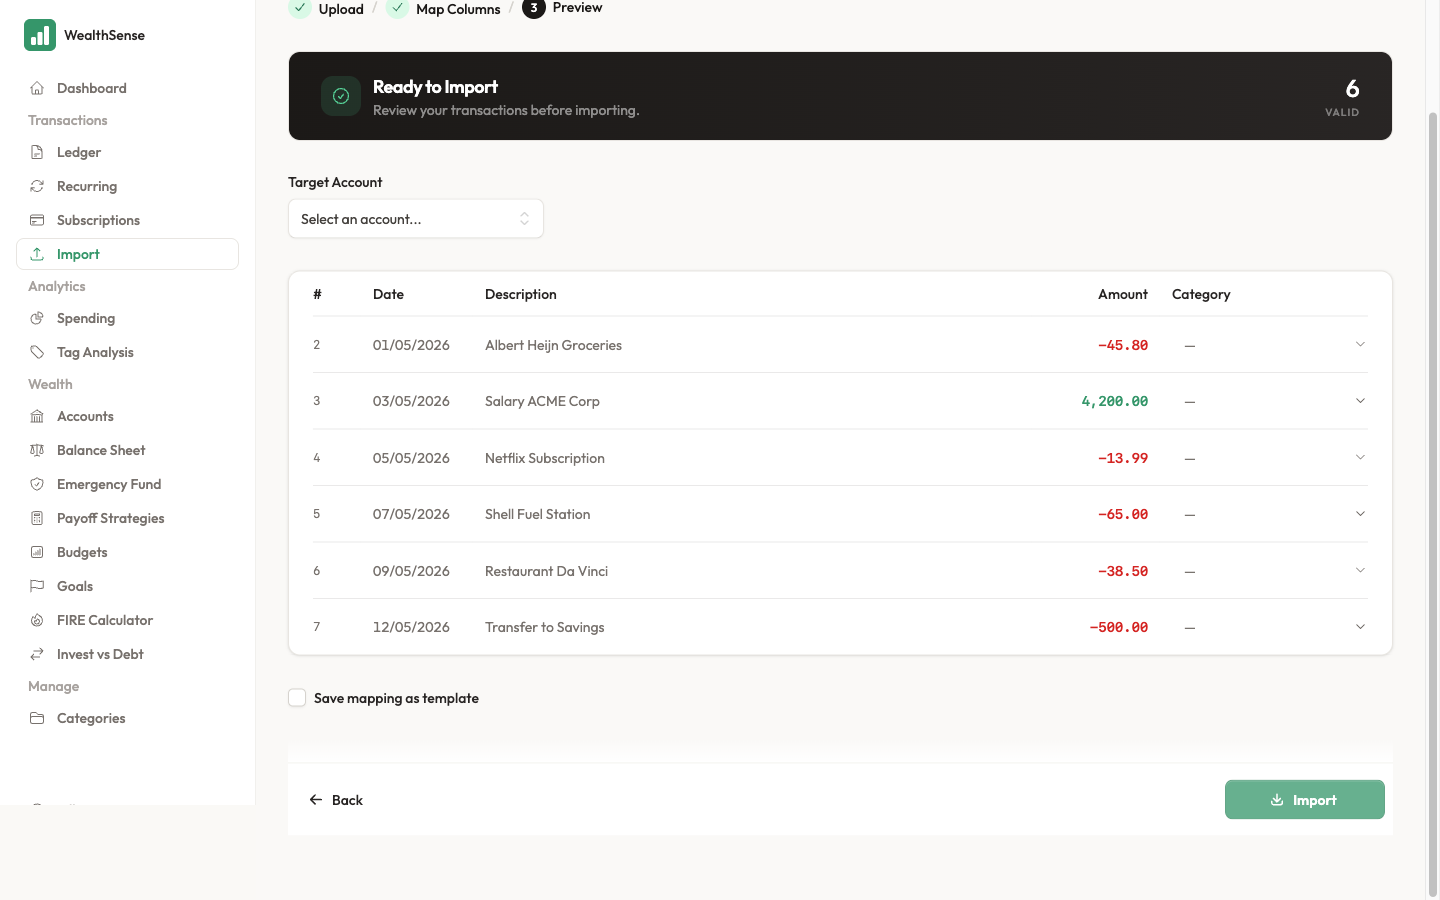
Preview, then save the mapping as a template. On the Preview screen the wizard shows every row it will import, every row it skipped, and any duplicates it detected against transactions you already have. Before you confirm, tick Save mapping as template and give the template a name your future self will recognise — for example, "Revolut EUR export" or "ING Bank statement". This is the step that turns one painful import into next month's two-click reimport.
-
Confirm the import. Click Import. The wizard writes the transactions to the destination account, the running balance recomputes, and the success screen offers an optional Categorize pass — useful if your CSV had no category column.
The wizard works the same for a multi-currency CSV — the account currency you set in step 3 of Connect your first account in 3 minutes is inherited by every row in that file. For accounts in different currencies, import each file into its own account.
You're done when…
You see last month's transactions in the ledger with the correct dates, amounts, and descriptions — and the next time you export from the same bank, the wizard offers your saved template at the top of the Map Columns step so the mapping is a single click instead of five.
See also
- First time setting up an account? — Connect your first account in 3 minutes
- Multi-currency import — Multi-currency budgeting in the EU
- Categorize, split, and tag transactions — Categorize, split, and tag transactions